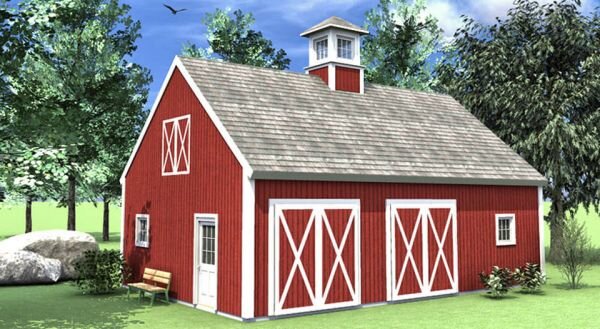
Schematics To Craft 24 x 12 Storage Shed: Things To Think about When Developing A Patio Shed

Dropped in some 50mm insulation board between timbers then topped this off with 30mm waterproof plywood. Hoist top of the wall onto sawhorses and reposition the work crew for the final lift. Hang the door, then sheathe and side shed-it's much easier to do those steps now than after roof is on. Duplicate this framing assembly for the other side of shed. Connecting girders to ceiling beams or to rafter ties helps (https://shedblueprintsdiy.com/shed-plans-blueprints) the walls resist outward thrust pressure from roof. This is because tree roots would grow over time and may dislodge your accessory building. For fast setting concrete, you just pour in post hole and add water.
Like someone else, just like reviewing diagrams. Exposure to direct sunlight and breezes would keep a outbuilding dry and free of rot and mold. Only use this method if one or two people are going to be able to lift it with little effort. When building a shed, you could choose different sizes, various styles and more. Hope my storage building is inspiring to you as it is to my family, friends, and neighborhood. A framing nail gun, miter saw and table saw would save you some time and effort but aren't necessary. Of course, building your own outbuilding is quite a project.
The closer the rafters are together, the thicker their depth, use of collar ties, and greater slope, better able to withstand snow load. Untwist your line when you rig it, and check it once in a while to insure it isn't causing you grief. Remove hanger nails at the joist hangers at each end of joist with nail bar. The outbuilding (discover this) features double door, so you have a proper access with large items. From top of the angle measure rafter length as determined using formula. This can be done with a hand sprayer or a sprinkler. The first step of project is to assemble trusses of the roof.
This is overkill if you're not in a hurricane threatened state. Hardware is what holds this whole thing together and it's important to use right piece and grade for the right job. The building of roof trusses as well as the walls is done right on floor platform. If you want to see more outdoor plans, check out the rest of our step by step projects and follow instructions to obtain a professional result. Thanks, we have added your selections to your subscriptions. Start on one side of roof. Tamp down or dig ground so that you have a nice level surface to support the frame of your floor.
After sheathing is plastic house wrap, which is stapled in using a stapler that looks like a hammer. Check for square, and then anchor the frame to the skids with four joist clip angles. Given the price of a double layer of expanded polystyrene foam insulation -- a total R-value of about 8 -- or R-13 fiberglass, the foam insulation costs more. Start at one end of beams, and measure distance between the inside faces of beams at first hanger. As we are creating a box, they should be at a right angle. If the distance is greater, add 1 or more skids between outer two with equal spacing and move the outer skids under walls.
Mark and trim them one at a time so you can test the fit and make alterations as needed. It takes a two turns of the handle to fully extend it. For now, screw the door frame to the sides, screw all the sides together in place. With their open web design, floor trusses construct the installation of plumbing and wiring a snap, but those mechanical elements are in the way of installing a replacement truss. If foundation crew makes a mistake and no one catches it, you could end up paying for trusses that don't fit. Third, it already has holes marked for attaching hinges.
There is also need to account for setbacks, which include floodplains, roads and property lines. The first step is to determine desired pitch of your shed roof. You don't have to complete it in a week. That made roof line a bit of a headache. Besides looking pretty, contrasting colors makes it easier to tell if the line is twisted. Verify the line is level with the bubble level. Finish up by putting posts back in place. You know, you wait all week for the weekend so you could work on your big project. You can construct these offset to construct the screwing easier.